About local repositories
Repositories on GitHub are remote repositories. You can clone or fork a repository with GitHub Desktop to create a local repository on your computer.
You can create a local copy of any repository on GitHub that you have access to by cloning the repository. If you own a repository or have write permissions, you can sync between the local and remote locations. For more information, see Syncing your branch in GitHub Desktop.
When you clone a repository, any changes you push to GitHub will affect the original repository. To make changes without affecting the original project, you can create a separate copy by forking the repository. You can create a pull request to propose that maintainers incorporate the changes in your fork into the original upstream repository. For more information, see About forks.
When you try to use GitHub Desktop to clone a repository that you do not have write access to, GitHub Desktop will prompt you to create a fork automatically. You can choose to use your fork to contribute to the original upstream repository or to work independently on your own project. Any existing forks default to contributing changes to their upstream repositories. You can modify this choice at any time. For more information, see Managing fork behavior.
You can also clone a repository directly from GitHub or GitHub Enterprise. For more information, see Cloning a repository from GitHub to GitHub Desktop.
Cloning a repository
-
In the File menu, click Clone Repository.
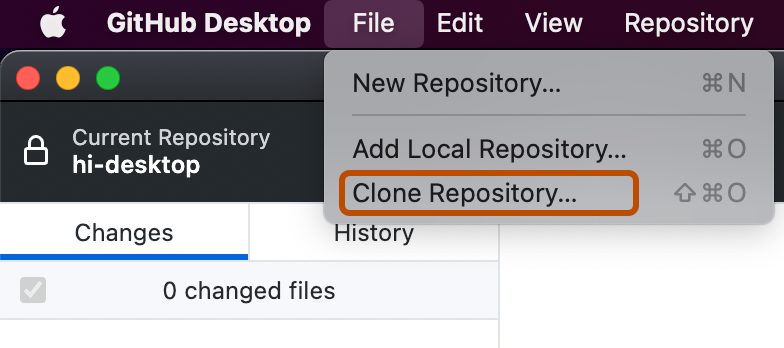
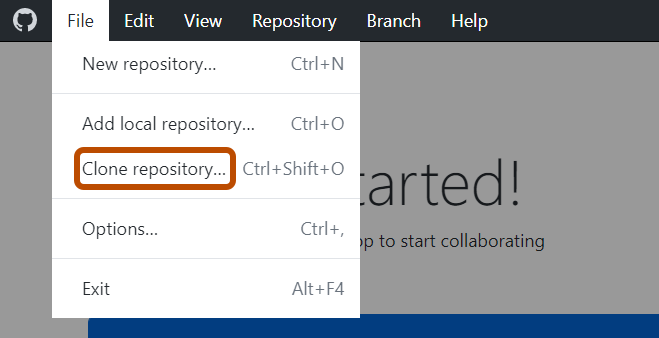
-
Click the tab that corresponds to the location of the repository you want to clone. You can also click URL to manually enter the repository location.
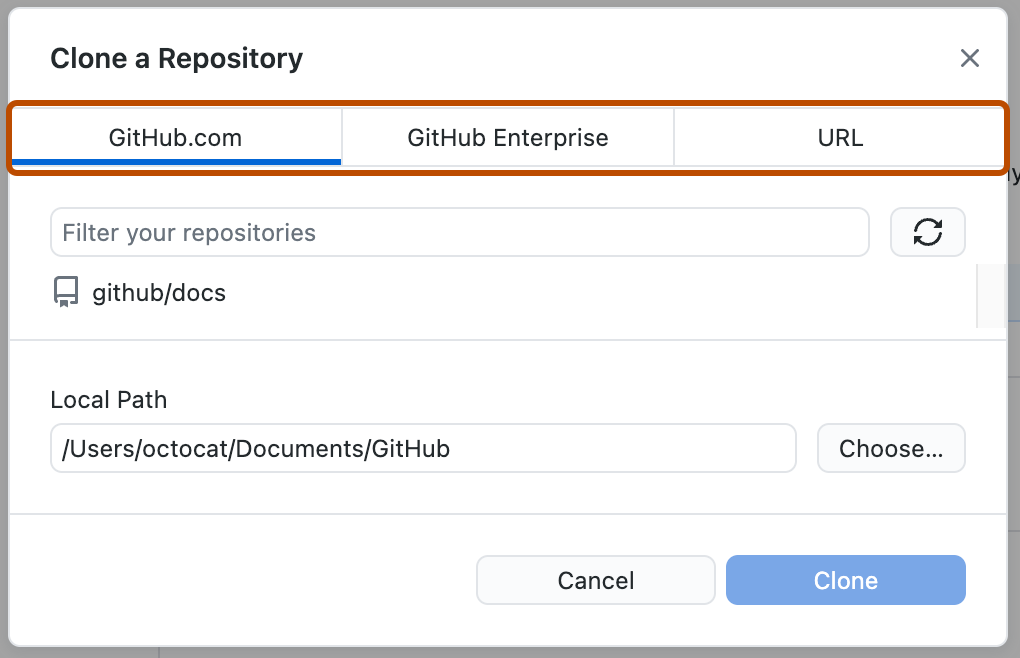
-
From the list of repositories, click the repository you want to clone.
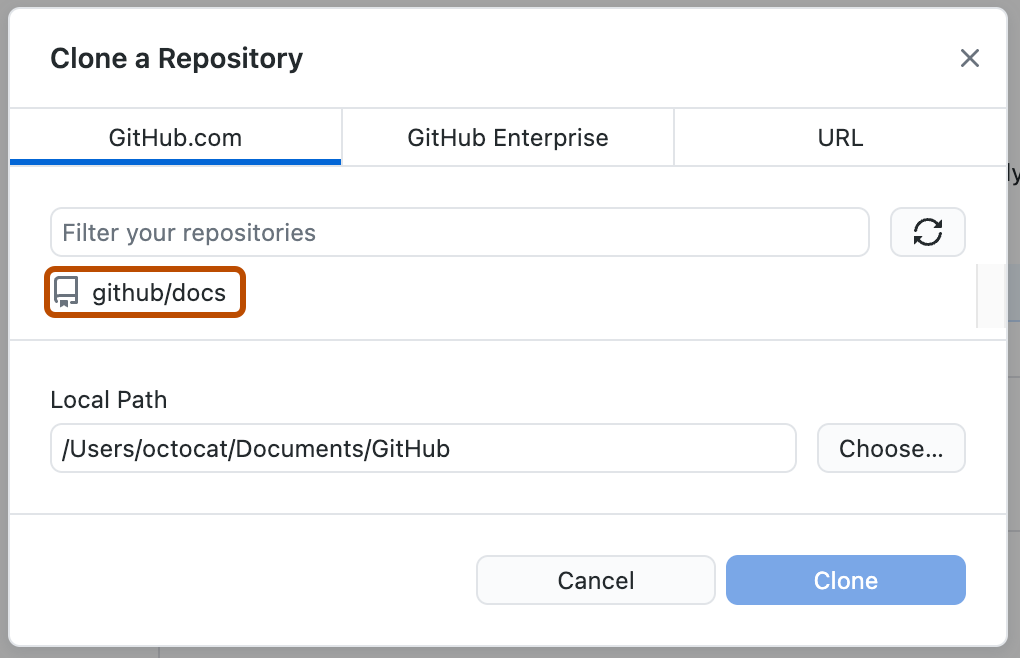
-
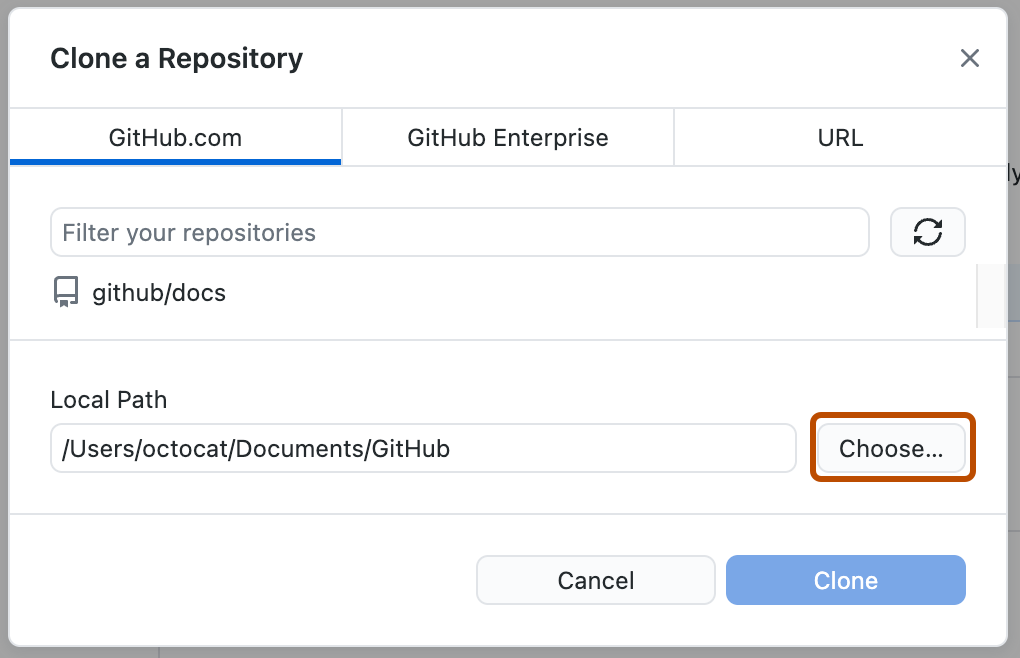
To select the local directory into which you want to clone the repository, next to the "Local Path" field, click Choose... and navigate to the directory.
-
At the bottom of the "Clone a Repository" window, click Clone.
Forking a repository
You can fork a repository on GitHub or in GitHub Desktop. For information about forking on GitHub, see Fork a repository.
In GitHub Desktop, if you attempt to clone a repository that you don't have write access to, a fork is automatically created for you.
-
In the File menu, click Clone Repository.


-
Click the tab that corresponds to the location of the repository you want to clone. You can also click URL to manually enter the repository location.

-
From the list of repositories, click the repository you want to clone.

-
To select the local directory into which you want to clone the repository, next to the "Local Path" field, click Choose... and navigate to the directory.

-
At the bottom of the "Clone a Repository" window, click Clone.
-
Read the information in the "How are you planning to use this fork?" window.
- If you plan to use this fork for contributing to the original upstream repository, click To contribute to the parent project.
- If you plan to use this fork for a project not connected to the upstream, click For my own purposes.
-
Click Continue.
Managing fork behavior
You can change how a fork behaves with the upstream repository in GitHub Desktop.
-
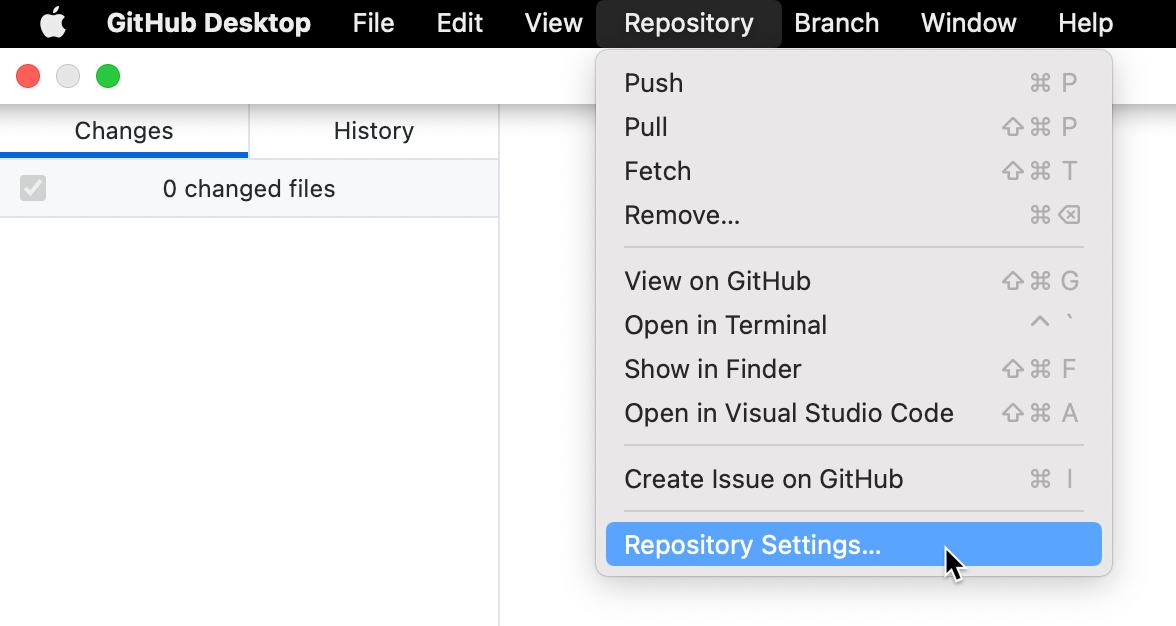
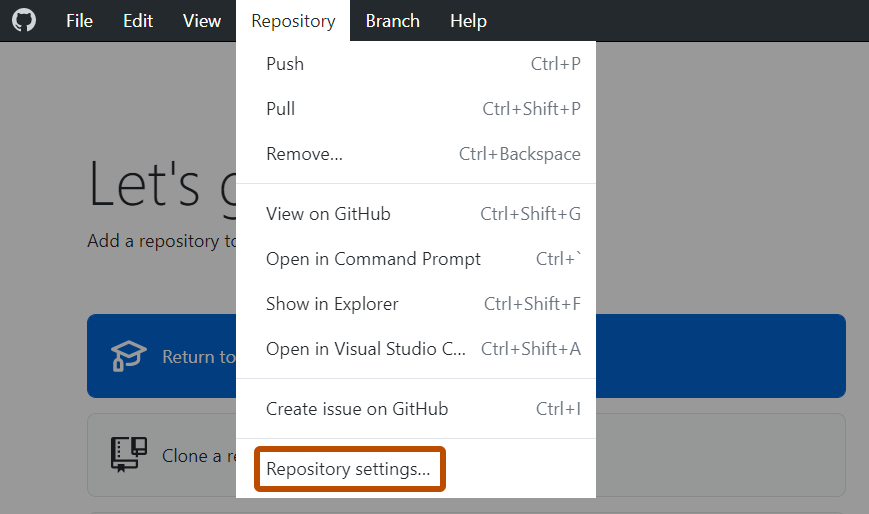
In the menu bar, select Repository, then click Repository settings....
-
In the "Repository settings" window, in the left-hand sidebar, click Fork Behavior.
-
Under "I'll be using this fork...", use the radio buttons to select how you want to use the fork.

-
Click Save.
Creating an alias for a local repository
You can create an alias for a local repository to help differentiate between repositories of the same name in GitHub Desktop. Creating an alias does not affect the repository's name on GitHub. In the repositories list, aliases appear in italics.
- In the upper-left corner of GitHub Desktop, to the right of the current repository name, click .
- Right-click the repository you want to create an alias for, then click Create Alias.
- Type an alias for the repository.
- Click Create Alias.